Tutorial: your first display
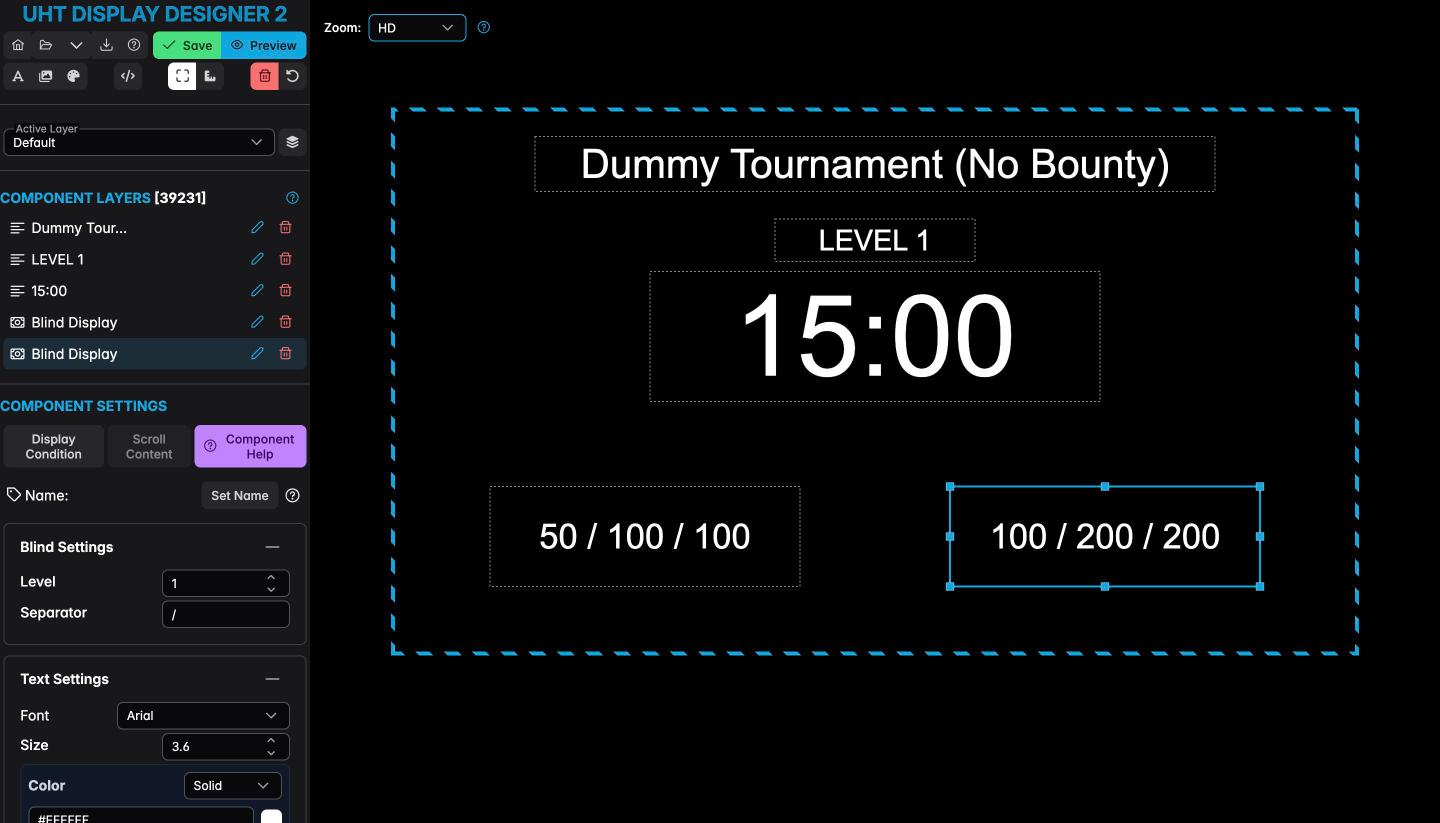
We'll build a display with the tournament name, the current level, a big clock, and the current and next blinds. That's a genuinely usable display.
Step 1 — add the tournament name
Drag Text from the components list onto the canvas. It lands where you drop it.
A fresh text component is empty, and it says so:
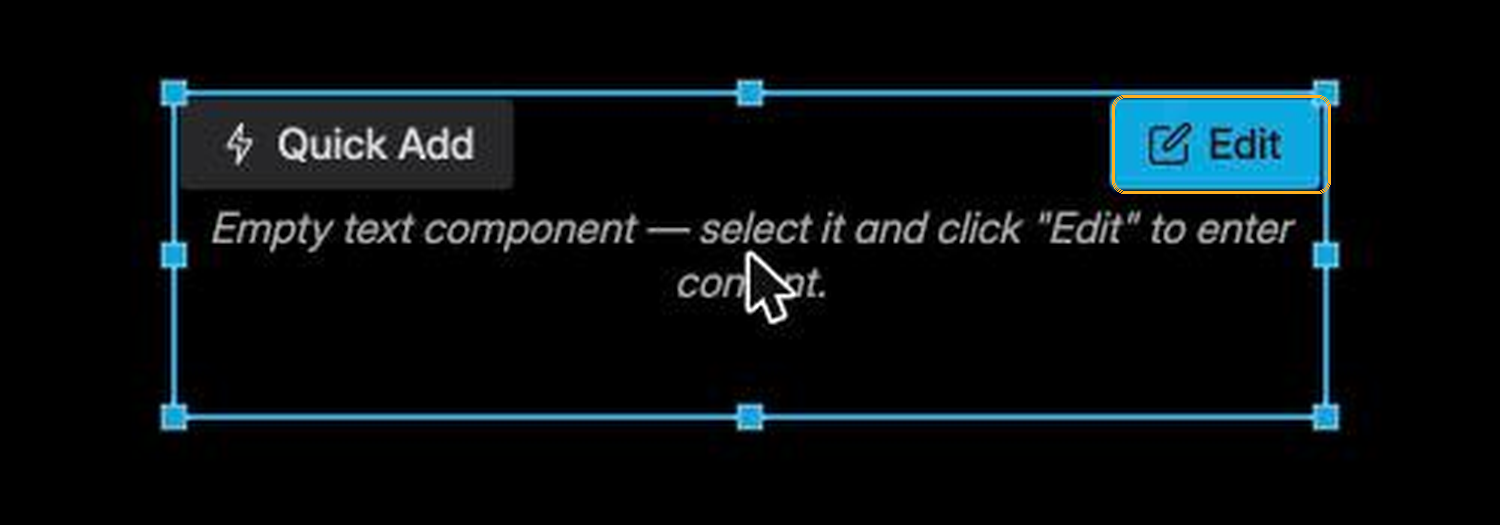
The text isn't edited in the sidebar. Click the component to select it, then press the Edit button that appears on the component itself. (Quick Add on the left is a shortcut that drops a common placeholder straight in.)
That opens the text editor. Here it is with a different example typed in, so you can see the shape of it:
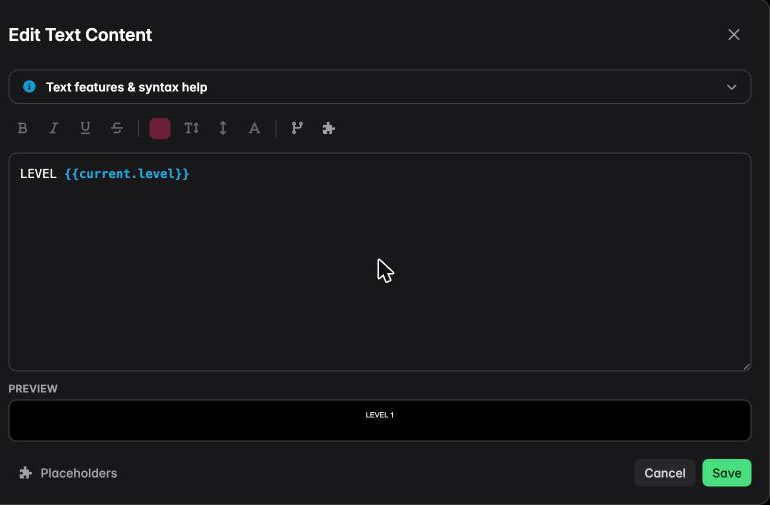
Note the Preview strip under the box: it shows what your text currently resolves to, so you know straight away whether you picked the right placeholder.
For this first component, type:
{{tournament.name}}
That's a placeholder. Press Save and the canvas updates — it immediately shows the sample tournament's name, and during a real tournament it shows yours.
Type {{ and UHT starts suggesting. See Placeholders below.
Step 2 — add the level number
Another Text component, this time mixing fixed words with a placeholder:
LEVEL {{current.level}}
Anything outside the {{ }} stays exactly as you typed it.
Step 3 — add the clock
A third Text component, with:
{{timer.level.$FORMAT:auto}}
Make this one big — it's the thing people look at from across the room. Set Size to something like 13 in the Text Settings.
The $FORMAT:auto part tells the clock to show MM:SS normally and switch to HH:MM:SS
for very long levels, so you never see 95:00 where you meant an hour and a half.
Step 4 — add the blinds
Drag a Blind Display component on. This one isn't text — it knows about blinds by itself. In its settings, Level is an offset:
0— the current level's blinds1— next level's blinds
Add a second Blind Display and set its Level to 1. Now you have current and upcoming
blinds side by side.
Step 5 — line it up
Nothing looks worse than a display that's slightly crooked. Two tools help:
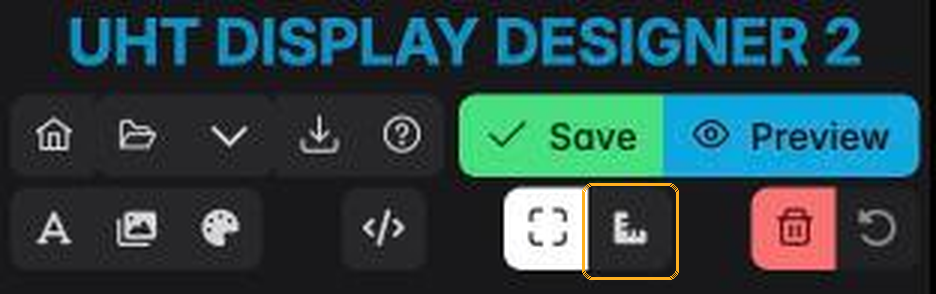
- Rulers (toolbar) turn on alignment guides that snap as you drag.
- Select more than one component and use Align selection at → Left edges / Centers / Right edges.
Set Align H to center in Text Settings so text stays centred inside its own box as
values change length — otherwise "LEVEL 9" and "LEVEL 10" will jump around.
Here's the finished result:
Step 6 — preview and save
Both buttons live at the top of the toolbar:
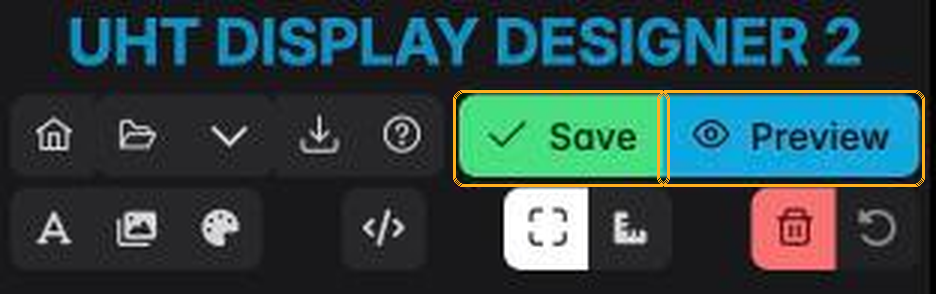
Preview opens the design in a separate window, exactly as it will really appear — with animation and scrolling running, and no editing furniture in the way. Close that window and you're back where you were.
Save asks for a name before it stores anything:
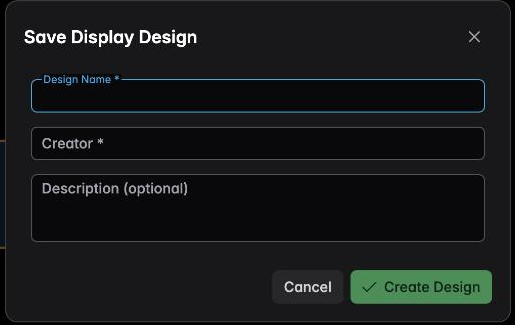
Design Name is what you'll see in the tournament wizard, so make it something you'll recognise next February — "Club Night — big clock" beats "design 4". Creator is your name, which matters if you ever share the file. Description is optional.
Press Create Design and it's yours: it now appears as an option in step 8 of the tournament wizard.